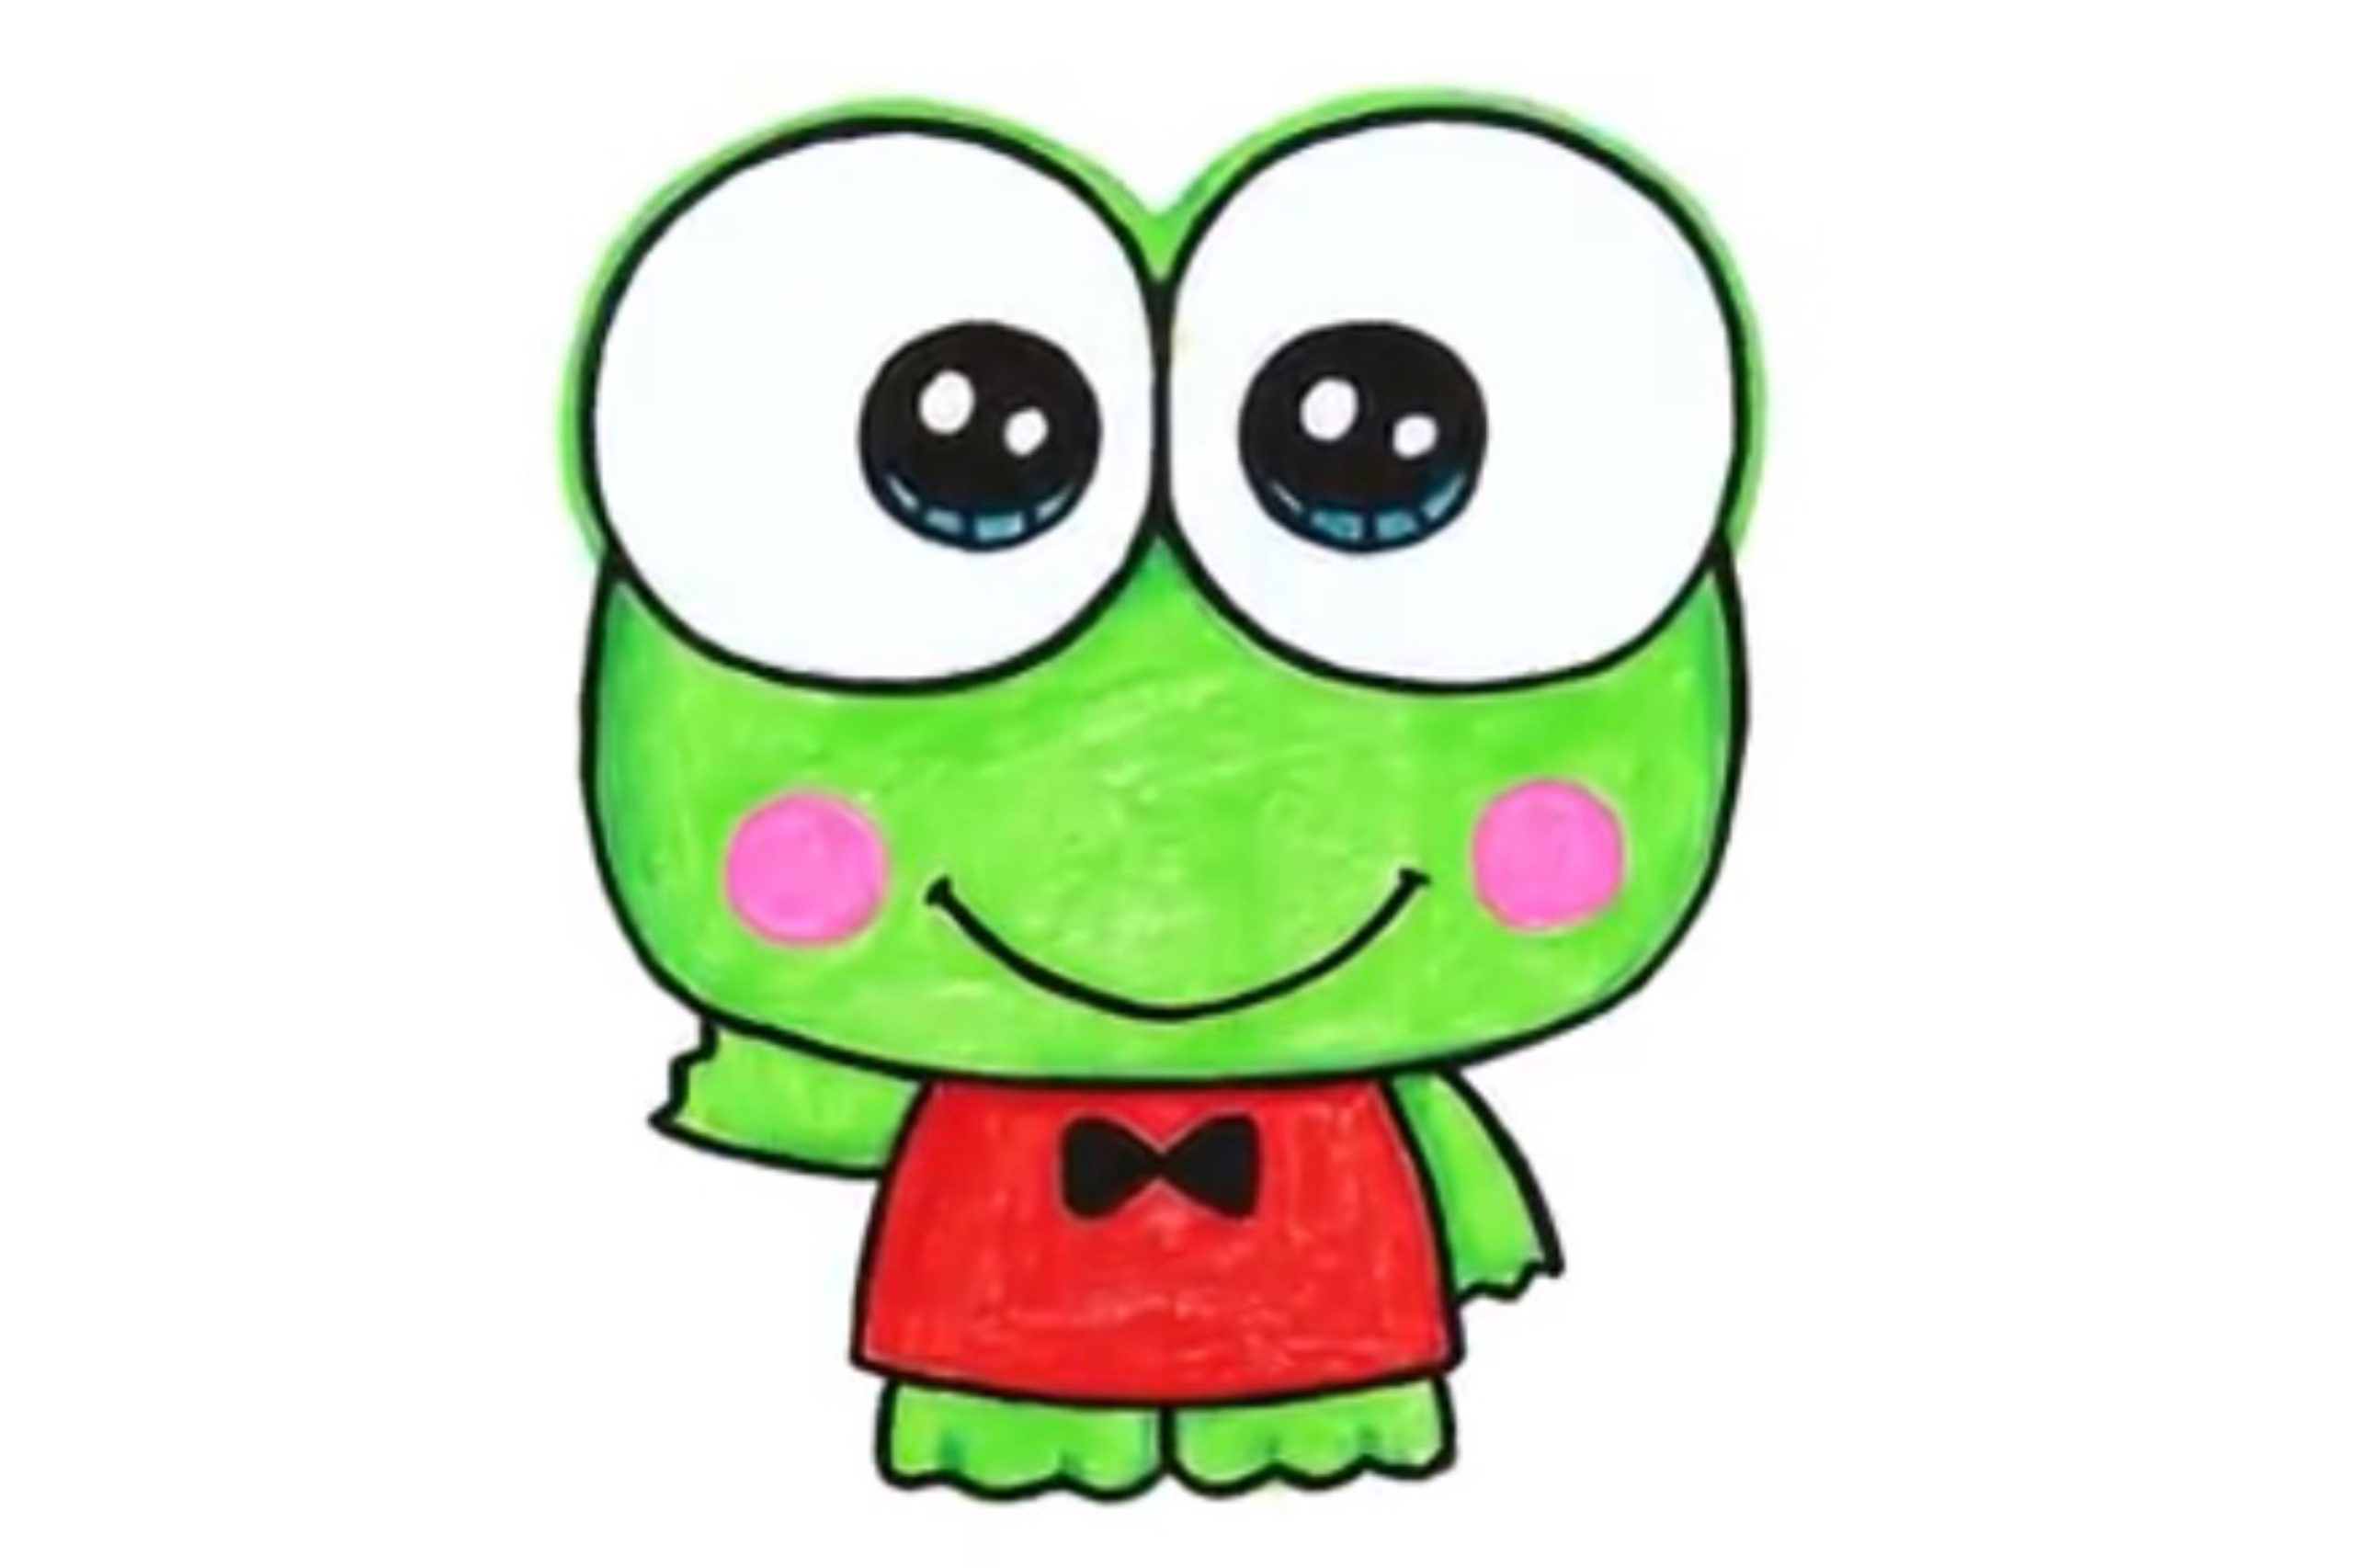
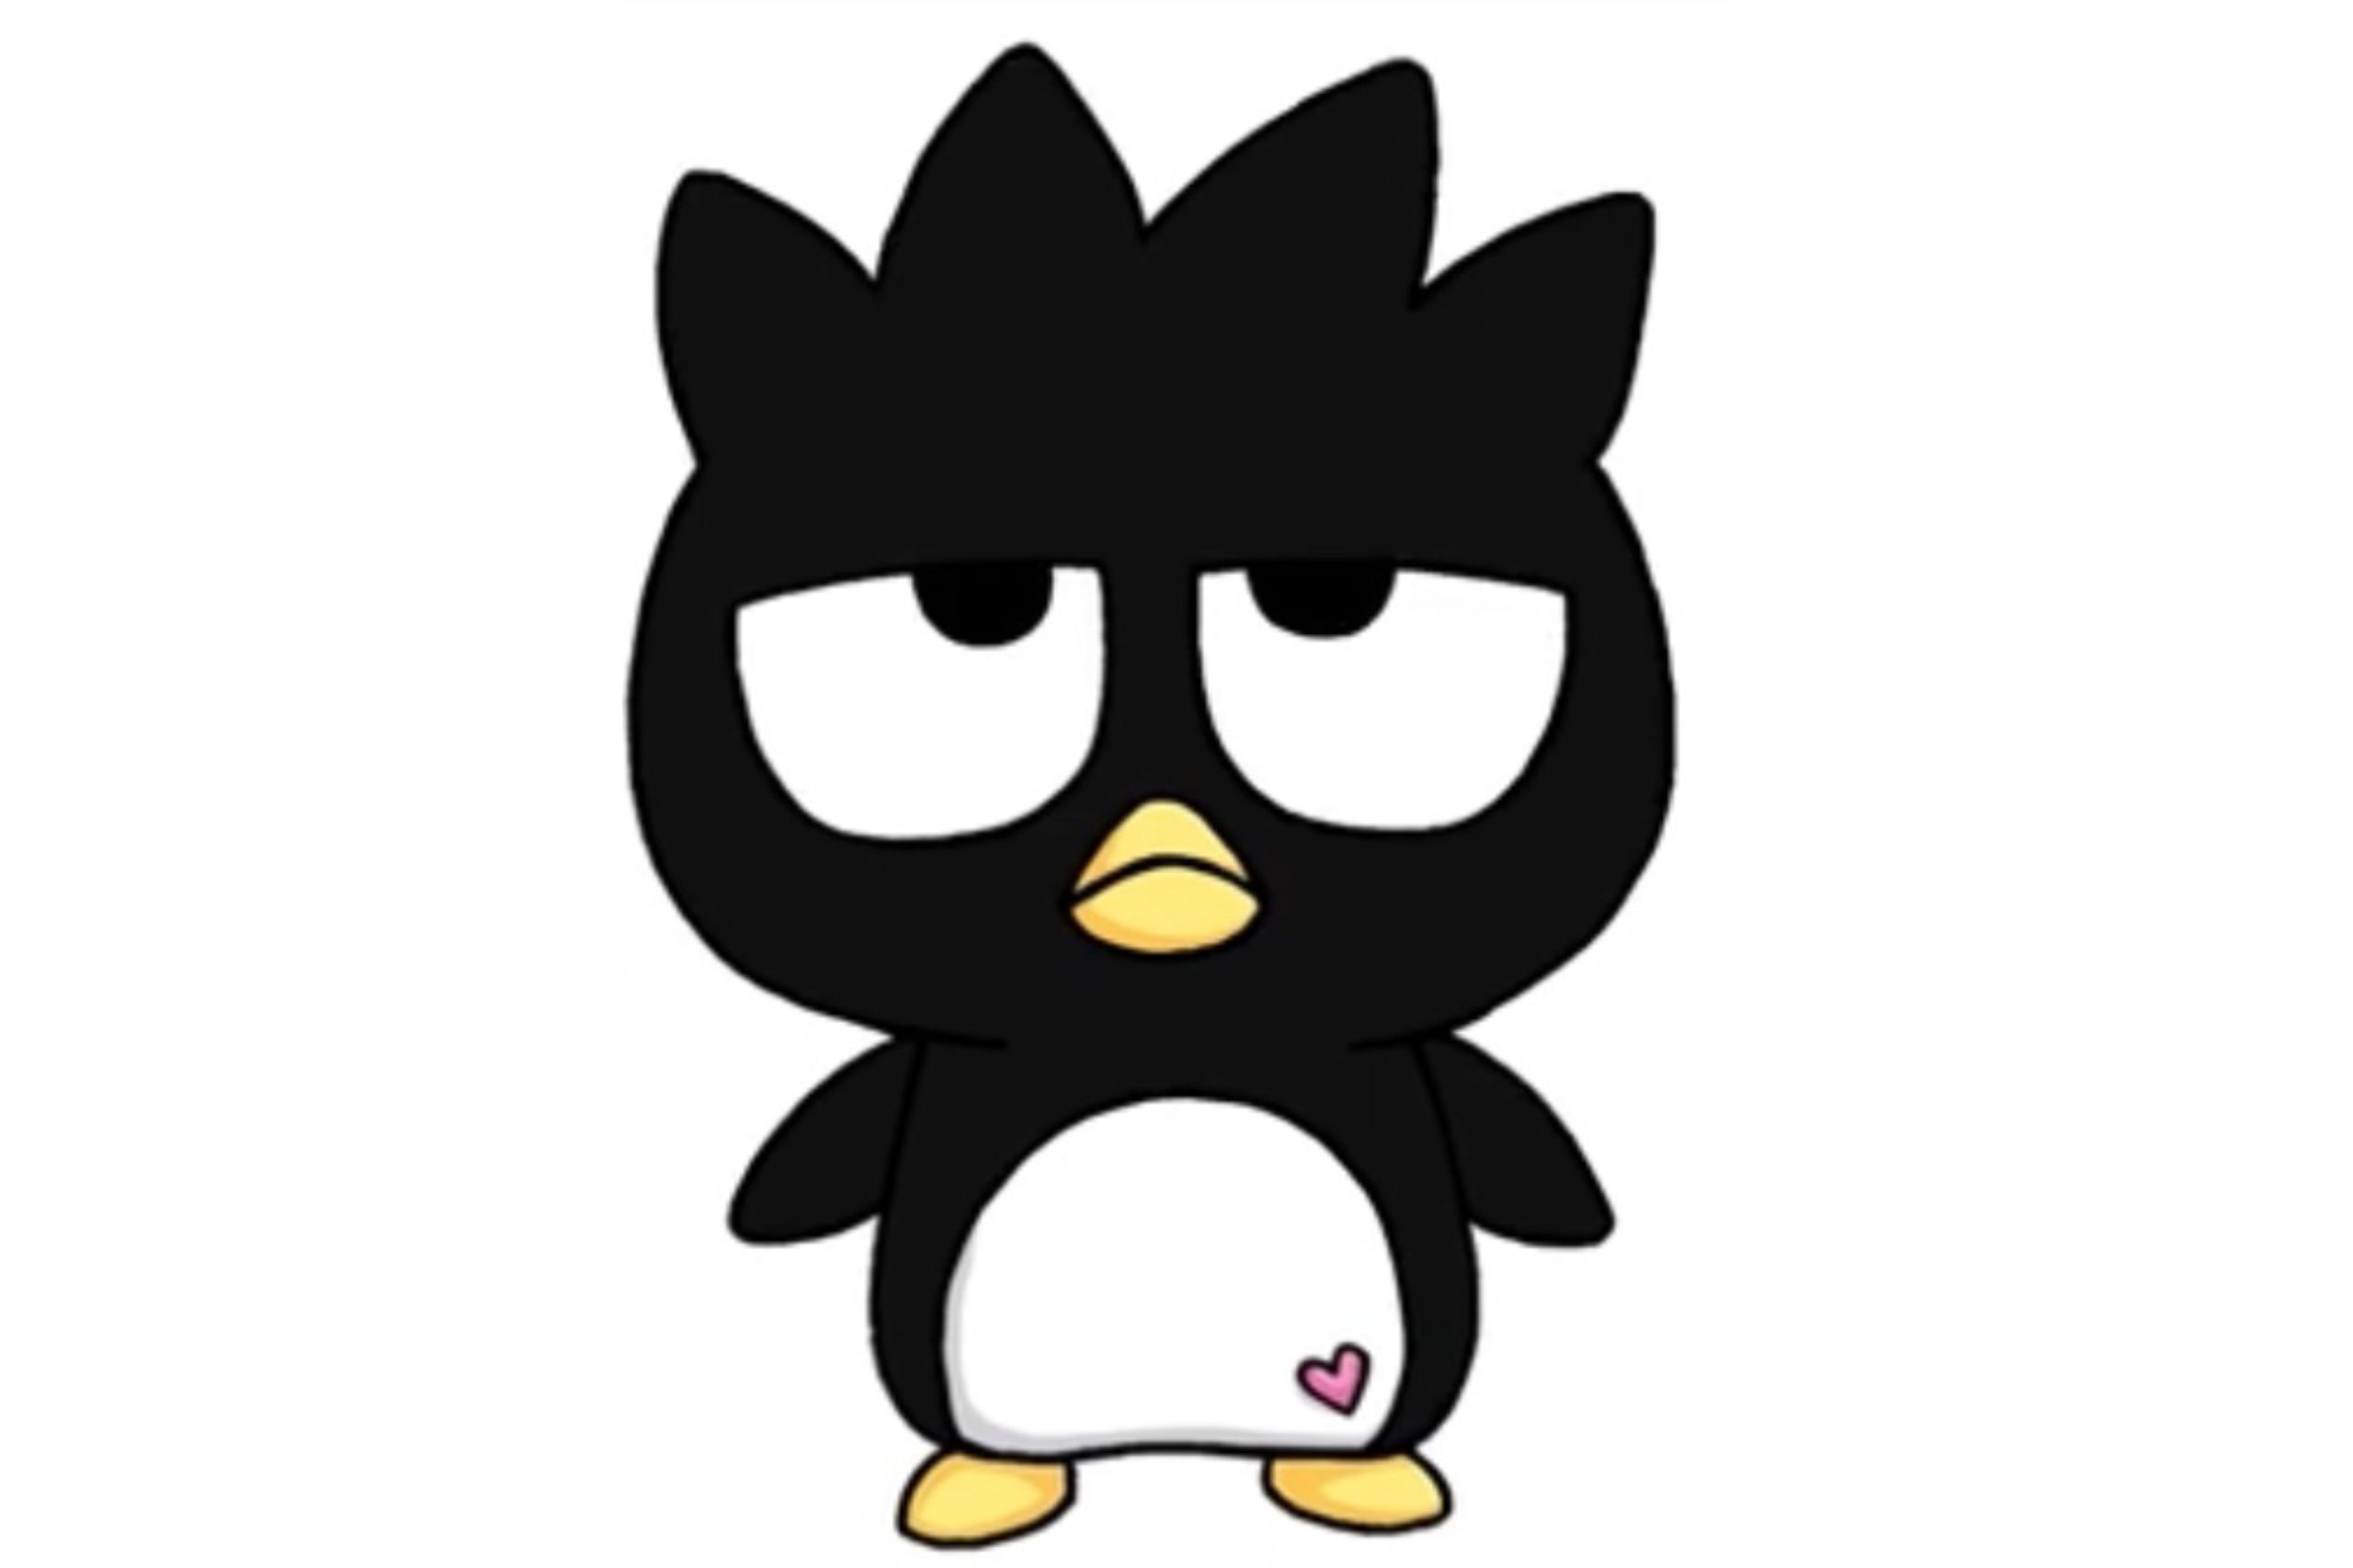
You may not know this. Drawing is for everyone. Even if you are not good at drawing before, we are sure that this time you can draw a good picture. It must be even more exciting if you are a cat lover. Because now we will instruct you how to draw a chococat! We are going to draw a chococat from Sanrio. Inspired by a young black child, Chococat is a 1996 Sanrio character. He is shown as a cute black cat with four whiskers and large black eyes. His chocolate-colored nose inspired the origin of his moniker. He lacks a mouth, much like Hello Kitty cartoons. His nose is the color of chocolate, hence his name. He differs from the majority of other Sanrio characters in that he has white eyes. The feisty feline Chococat enjoys playing around. Like Hello Kitty, Chococat is a well-known Sanrio character that enjoys having fun with his closest friends. After reading our guides, you will know how to draw a chococat. Now, you should bring out your pencil, and let’s get started drawing this cute black cat.
How To Draw A Chococat
Ensure you have the following supplies ready:
Pencils: A variety of graphite pencils for sketching and shading.
Erasers: Regular erasers for precision.
Paper: High-quality paper or a sketchbook.
Reference images: Gather images of the character.
Coloring tools: use colorful crayons to bring the character to life
Let’s start by drawing a big circle for his eyes. Now we have one and let’s draw another one. Please make sure to draw about the same height for the other circle. Now, we have two big circles. Let’s come back inside, and we are going to draw another circle. Put it in the center. Then, we will start another smaller circle. Now, please give it a little highlight and shade it all. The original does not have a highlight but we thought it is exciting to add some bling. So, hopefully, it will add some sparkle to the eye. But if you do not like it, just fill this all in. Of course, we are going to draw another circle and put the same thing—a little circle for a highlight and shade it all in.
Step 2 – Drawing the face
Chococat Drawing Step 2
So now we have the eyes in. Let’s come in between the eyes, and we are going to draw a little oval for the nose. It is simple; just draw a little oval right in the center and then we can go ahead and draw the head. So the head is basically like a big dumpling. We are going to go up, like a dumpling. We are going to start to curve in towards the top. We will just go ahead and start the big curve towards the top. And we are going to bring it down, so the same thing on the other side.
So, if you are using a pencil at home, then you can make any adjustments you need make it higher or lower. Draw a big curve and then, we are just going to start to bring it in. We are going to round it off. Go to the center again. We will just give a point and from there, we are going to go ahead and bring in the curve towards the point. Flatter at the bottom and up, and adjust as you need. The top is a little bit narrower and then flatter at the bottom.
Step 3 – Drawing the ears
Chococat Drawing Step 3
Let’s go ahead and draw the ears. We are going to come about to draw these big ears. So, we are going to go up, round it off and bring it in. Then we are just going to go ahead and follow the outside to draw the inside. Let’s draw the other one. We are just going to drag some points across. We are going to the other side. This is because we are drawing pretty big. So it just helps us figure out where we are going. So same exact thing, we are just going to bring this out. Just take a look at your other one. And then round it off and bring it right back to your point once again. We are just going to go ahead and draw the inside, following your outside.
And now we have those two big ears.
Step 4 – Drawing the whiskers
Chococat Drawing Step 4
Let’s draw in some whiskers so we are going to put them about right where the eye is. We are just going to draw one and two. Go ahead and thicken it up. So it will all make sense once you color this cat in all black. Right now, we have not colored it, so it does not look quite like a chocolate cat. We will go ahead and thicken this up.
Step 5 – Drawing the upper body
Chococat Drawing Step 5
Then, draw the cute little body. We are going to come out. Let’s come back into the space and we are just going to draw a curve right in the center for the collar. Just draw one big curve, and then from there, we are just going to bring that point down. So, the point is where the legs are going to start. We are just going to curve in. So same thing curve in so for the hands.
Step 6 – Drawing the legs
Chococat Drawing Step 6
Then, we can come down for the legs. We will just find our center. Then, we draw a little curve to separate the legs. Bring this down, and we are just going to go ahead and round it off. And connect the points. Bring it down and round it off there.
Step 7 – Drawing the tail
Chococat Drawing Step 7
And then a tail. We are going to come about right underneath the hand and we are just going to curve out a tail and thicken it up. Last but not least, we are going to add a heart on chococat and make in our drawing so cute Chocolate Cat.
Step 8 – Let’s color!
Chococat Drawing Step 8
Now, you would just go ahead and color all of this all in black. For some details, you can choose different colors. Color the inside of your ears in yellow. The nose goes brown. How about a blue necklace? And let’s color the little cute heart in pink. Do not use just black, or you can see chocolate nose, mouth or eyes, etc.
Your Chococat Drawing Is Complete Now!
So hopefully you will love how Chocolate Cat Here turned out from Sanrio and we helped you draw him fun and easy today. Thanks so much for watching.
We sincerely hope you love this sweet little pen drawing. We genuinely hope that our courses on creating chococat have been enjoyable for you. Right now, there is a small chocolate on your table. We also want to pique your interest.
After finishing, you may know how easy it is to draw your own chococat. We appreciate your time and triumph in completing this drawing. Now, you can think about how to decorate your room with this cute drawing.
Tips on How to Draw Toast Chococat
As you can see, creating your own chococat on paper is not hard at all. Just follow our instructions. We have a quick suggestion to make your experience better. You can set a time limit for yourself to complete your artwork because our guide is easy to follow. Take ten minutes, or perhaps five, to draw your chococat. Would you dare to try?
FAQs on How to Draw Chococat
Given my lack of skill, how can I improve my drawing?
Perfectionism is attained with practice. Therefore, do not let your fear stop you from improving your drawing skills. Please follow our instructions and maintain an open mind. It will not dawn on you how simple drawing may be until you attempt our tutorials.
Is it okay if I draw chococat with something other than pencils?
Indeed. You can experiment with various drawing supplies. They include coloring pens, markers, and pencils. However, we would like to alert you that erasing the colored tools will be more challenging. For this reason, we advise using pencils if you are just starting out with drawing so that you can quickly correct any errors.
Can kids sketch this kind of character?
Naturally, these sketching instructions for chococat are really basic. You can teach your child to sketch various sections of chococat using pencils. After they are done sketching, they can add color to their work. For younger children, drawing can be more difficult. That’s the time to assist your child. Teach your child the proper pen grip to begin with. After that, you can assist them in drawing the choline by holding their hand. Jorz.art think it is fantastic when parents and kids can work on something creative together.
Hi, I'm Stexxa, you can call me Stex. I currently work in digital marketing, website design, and content creation for the website Jorz.art. We hope that our Website will bring the value you are looking for.
You may not know this. Drawing is for everyone. Even if you are not good at drawing before, we are… View More