Apr
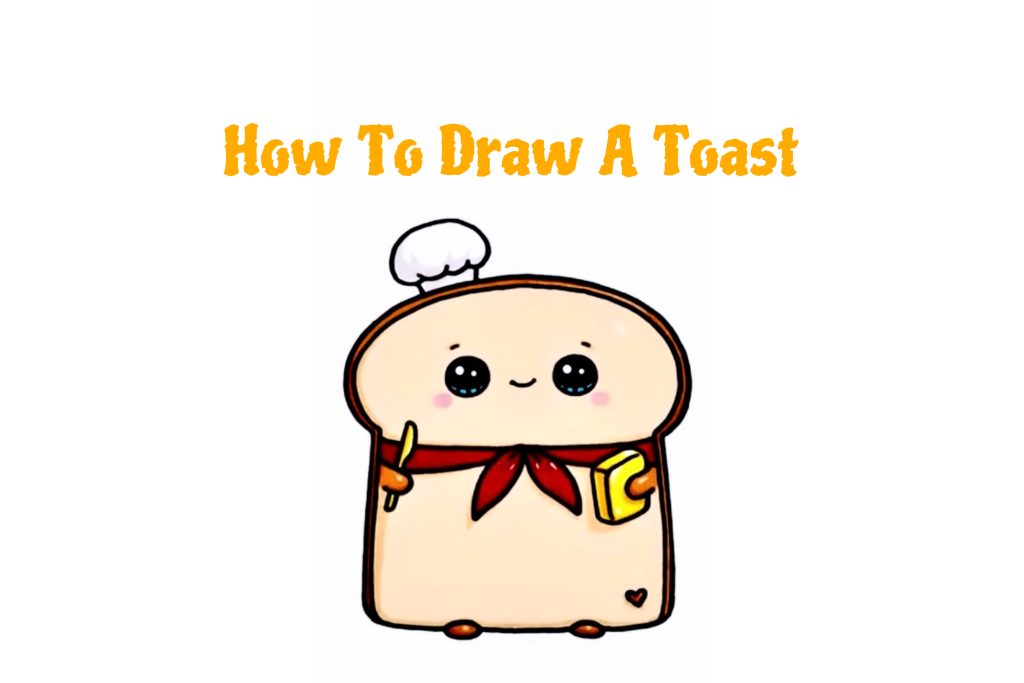
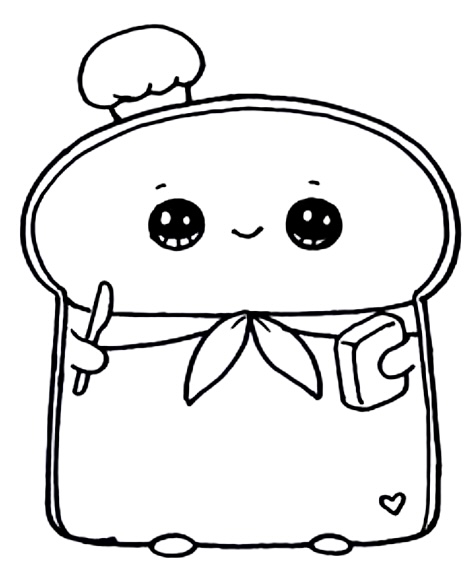
Are you in your free time and want to find a new relaxing way? We will take you through a drawing tutorial for simple and cute objects. We are going to draw a toast sliced bread.
If you were not good at drawing when you were a child, please do not worry. Jorz.art’s tutorial is simple, so everyone can draw. Now, let’s get started.
https://youtu.be/DSllUEO7M08?si=YCXDfwEl3pMYwAaK
How to Draw Toast Sliced Bread
Ensure you have the following supplies ready:
Pencils: A variety of graphite pencils for sketching and shading.
Erasers: Regular erasers for precision.
Paper: High-quality paper or a sketchbook.
Reference images: Gather images of the character.
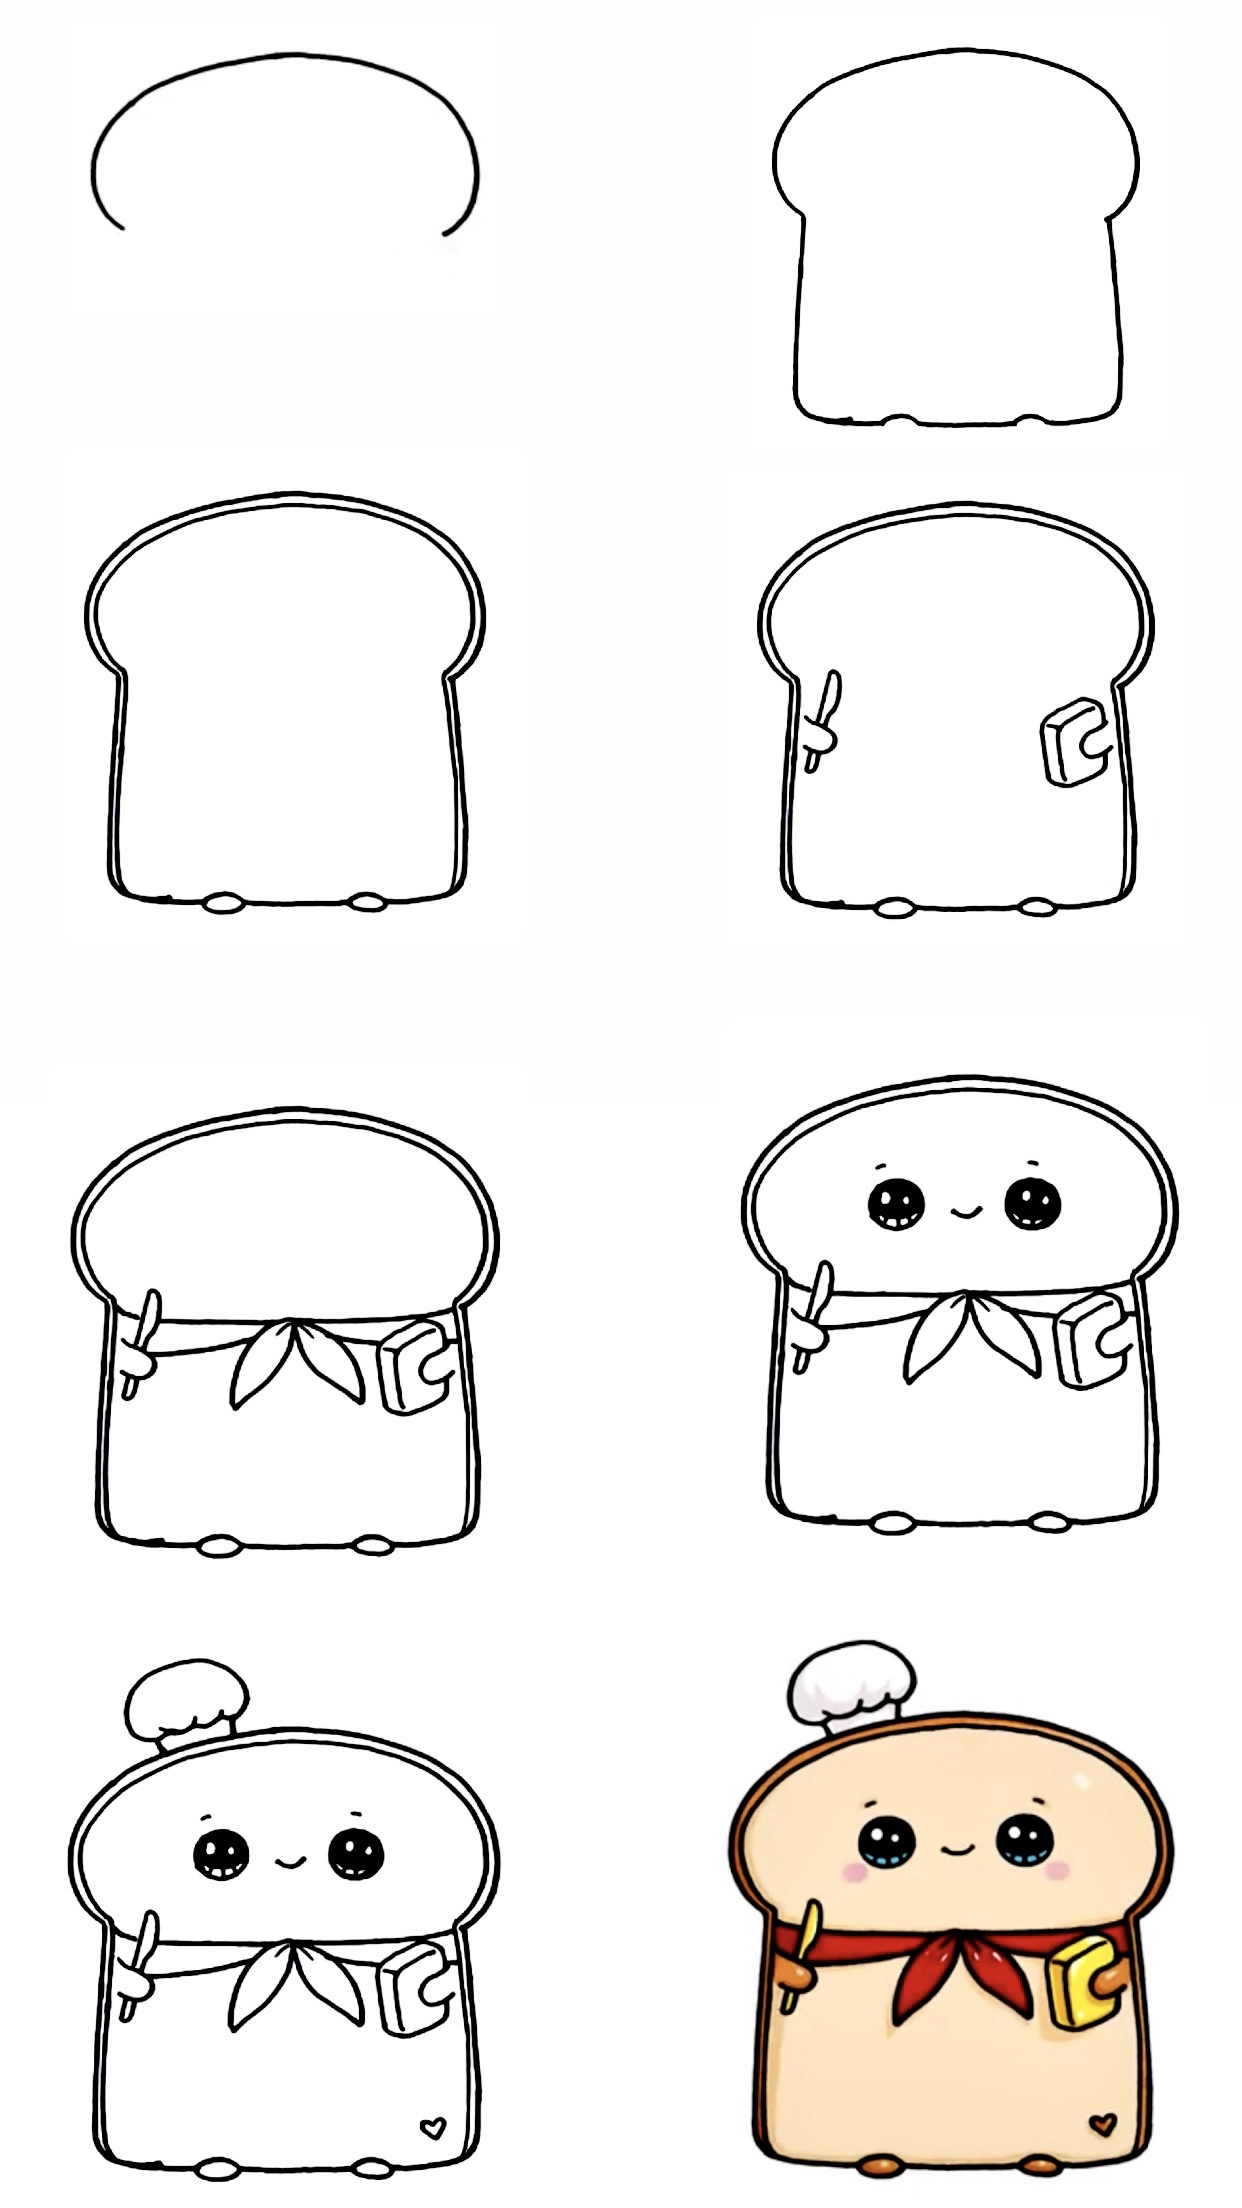
- Step 1 – Drawing the top
- Step 2 – Drawing the below part
- Step 3 – Drawing the feet
- Step 4 – Drawing the hands
- Step 5 – Drawing Scarf
- Step 6 – Drawing Eyes
- Step 7 – Drawing Hat
- Step 8 – Let’s color!
- Your Toast Drawing Is Complete Now!
- Tips on How to Draw A Toast Sliced Bread
- FAQs on How to Draw A Toast Sliced Bread
Step 1 – Drawing the top
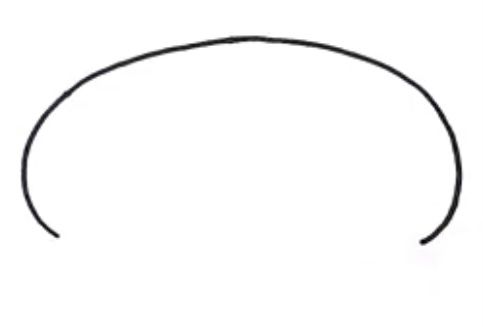
Toast Drawing Step 1
To draw this yummy slice of bread, let’s first start by drawing the top. Simply draw a big curve. Easy start, right? You can make it nice and big.
Let’s see about right here, which is going to be in our center. Next, we will come down, so it is higher at the top. Then, bring it right back, just like the other side, to about the same level. Here is this big curve for the top from there. Let’s come down right there and just kind of give it a slight angle.
Step 2 – Drawing the below part
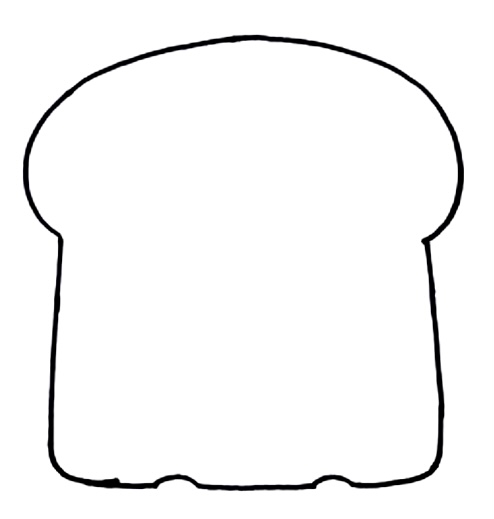
Toast Drawing Step 2
You have just drawn the top part of our slice. Let’s go ahead and bring it down. Then we are going to round it off in the corner. Do the same thing on the other side and round it off. Then, we are going to connect at the bottom with a line. But as we come through, we will stop at a bit of distance from the center of the bottom side of the toast. Right from there, give it a little curve for the feet, and then continue the line. Now we have this little curve. We are just going to come in again and draw another curve at the bottom to draw the other feet.
Step 3 – Drawing the feet
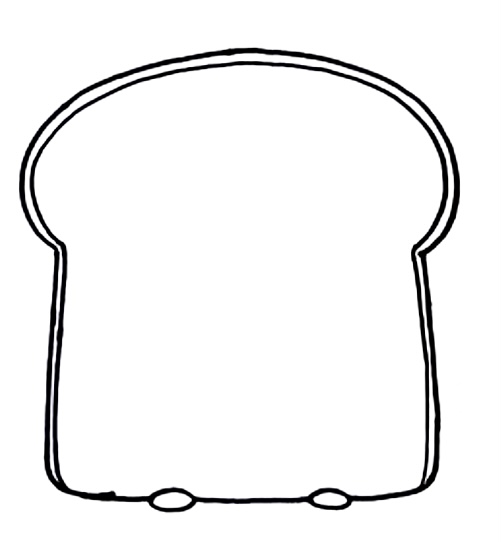
Toast Drawing Step 3
Now you will understand why we need little curves at the bottom of the toast. From the two spots, you make opposite curves for each of them, and then you will see two tiny feet for the toast. Really simple, right?
We are going to start to give this slice of bread a little edge. So we are just going to follow the top and just go all the way around. If you are using a pencil, you can just
color this part darker and then you do not need this harsh black line there. Okay, so now, let’s move on to the next step. It would be a bit more challenging than the previous steps.
Step 4 – Drawing the hands
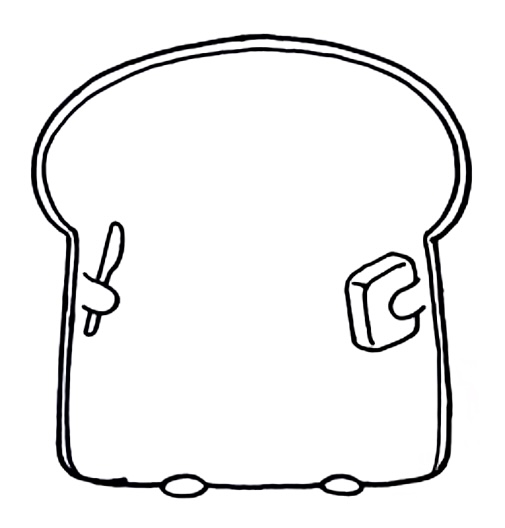
Toast Drawing Step 4
Let’s come over the left side of the toast. And to this area, near the connection of the top and below parts, we are going to draw a hand that comes out. So it is basically a big curve that comes out. And let’s do the same thing on the other side. So about right at the right part of the slice, and once again, draw a big curve that comes out for the hands.
From there, we are going to come in. On this hand, draw a butter knife. Let’s see, right there, we are going to draw an angle line that comes through the hand. We are going to round it off and then come in so we just want more of this part right here to be thicker.
Come through and connect to our butter knife. And then, on this side, we are going to have the slice of bread holding a slice of butter. So let’s come up right there, give a little edge, come across, and come down. And then, we are just going to give it a little edge again. And go up and right back. So you just want to try to create these two edges so that we can come back in there, get a little line, and create this curve just to give our slice of butter.
Step 5 – Drawing Scarf
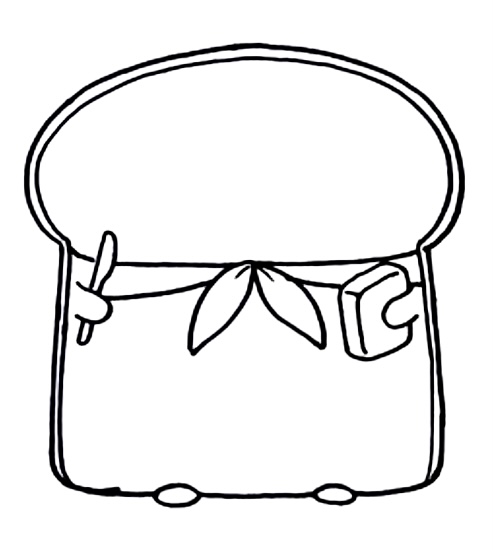
Toast Drawing Step 5
Now, let’s make some decorations for this toast. We need to come back and draw the scarf.
So let’s see from the connection of the top and buttom parts of this toast. We are going to come from right there. You need to draw a line from the left side to the other side, so the top and the bottom will be separated. And now you know where the scarf should be placed. Let’s come right into the center of the line you have drawn and give a point. Right there, we are going to draw the tail. It is just kind of like two leaves.
And then we can go ahead and connect the same thing. Go up and and connect to whatever space you have left there.
Step 6 – Drawing Eyes
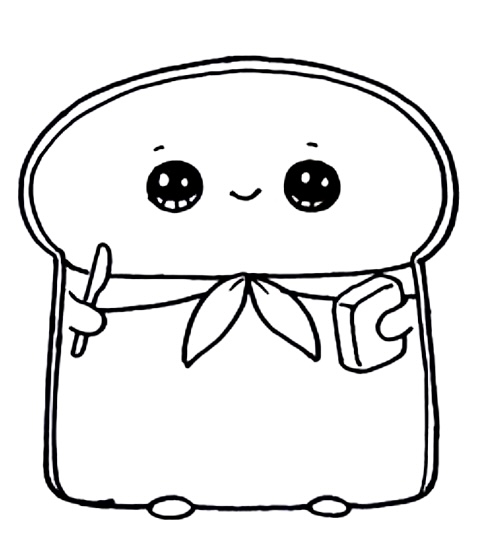
Toast Drawing Step 6
Now, let’s bring this slice of bread to life. At the top part, draw a big circle for some eyes. Let’s make their eyes so cute. So, add two small circles for highlights, a curved line at the bottom, and shade at the top. Repeat the steps for the other eye.
Okay so now we have the eyes in. Let’s come above each eye and draw a soft curve. And do not forget a small little smile right in between two eyes.
Step 7 – Drawing Hat
Toast Drawing Step 7
We need to add a little chef’s hat. So right on the left edge of the top part. We will go ahead and draw two angles and a big poof on top, as if you are drawing a mushroom. And then come in there and just wobble across. Then come in again with some curves to create these creases for our chef’s hat.
And of course we are going to add a heart right here and make this our jurassic slice of bread.
Step 8 – Let’s color!
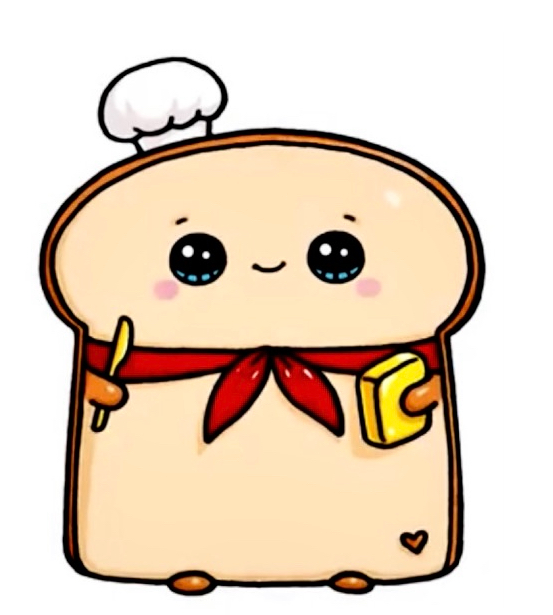
Toast Drawing Step 8
Now is the time for you to finalize your picture. Choose your favorite color to put on your toast. It is your freedom to choose the color palette for it. Explore the colors, and color your toast creatively.
Your Toast Drawing Is Complete Now!
So it is all done. We really hope you love this slice of bread. Now, you may understand how easy it is to draw. We hope that our tutorial helps you love drawing and practice more to draw everything you like.
Tips on How to Draw A Toast Sliced Bread
For most of the steps in drawing the toast, they are so simple to make. However, for hands, scarf and the hat, these drawing steps may be more difficult for you. Do not worry, please keep practicing on a draft first, and then, when you get more ready, add these pieces to your picture.
Remember to get good-quality drawing tool. A good pencil lets you draw firm lines. Good colors allow you to fill in great colors for your toast.
FAQs on How to Draw A Toast Sliced Bread
- How much time does it take to finish a toast drawing?
It depends. If you are a beginner, it takes longer for you. Depending on each individual’s ability, this drawing can take from 10 minutes to hours to finish. So, we suggest understanding your ability and setting the right time to finish your toast or sliced bread.
- Is it difficult to draw a toast sliced bread?
Most of the steps are simple to finish. If you are a beginner and want to start small, you can simplify the drawing of the scarf or hands. The most important thing is to enjoy the process. So, do not be discouraged from making mistakes. You will get better and better if you keep practicing.
- What are the materials for drawing a toast of sliced bread?
Here is the tool kit for your drawing:
- A blank paper
- A pencil
- Colors: crayons, colored pencils, gel pens,…
Remember to get good quality drawing tools. Now, let’s make your toast on paper!


Stex
Are you in your free time and want to find a new relaxing way? We will take you through a… View More