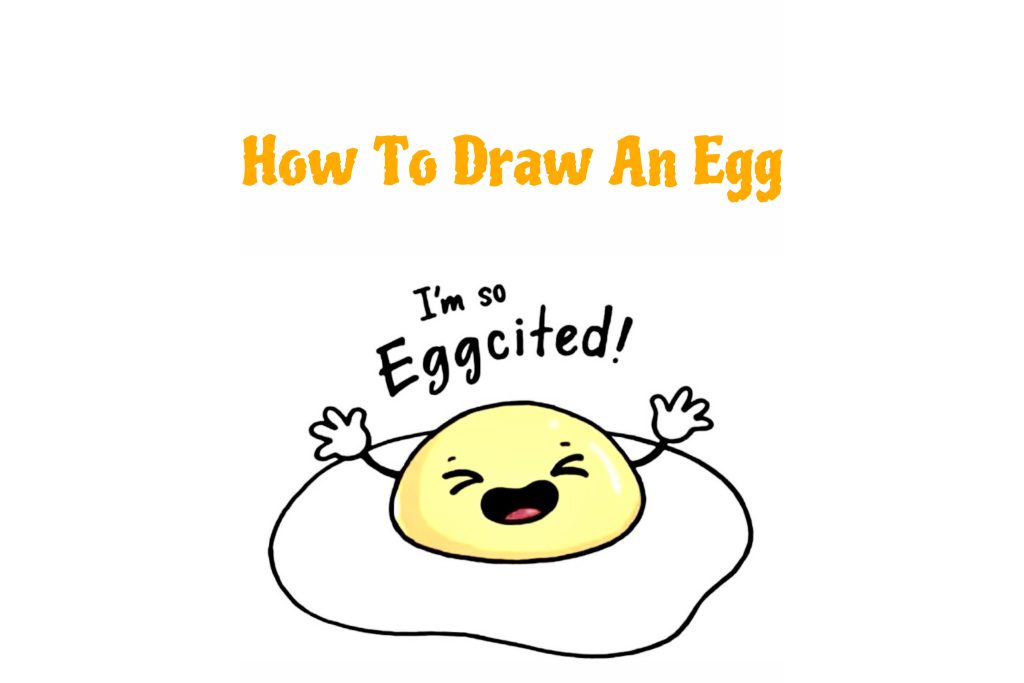
Do you want to light up your day with a simple creative activity? We will take you through a drawing tutorial for an egg. And can you guess? This is not a normal egg. It is an eggcited!
Now, stay tuned. Are you excited? So let’s get started drawing this very excited egg.
https://www.youtube.com/watch?v=ybNVh-EAtuU&t=2s&pp=ygUhSG93IHRvIERyYXcgYW4gRWdnIFN1bm55IFNpZGUgVXAg
How To Draw An Egg Sunny Side Up
Step 1 – Drawing the york
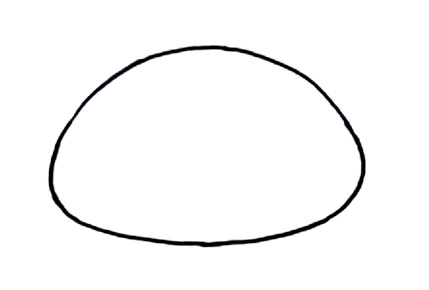
Egg Drawing Step 1
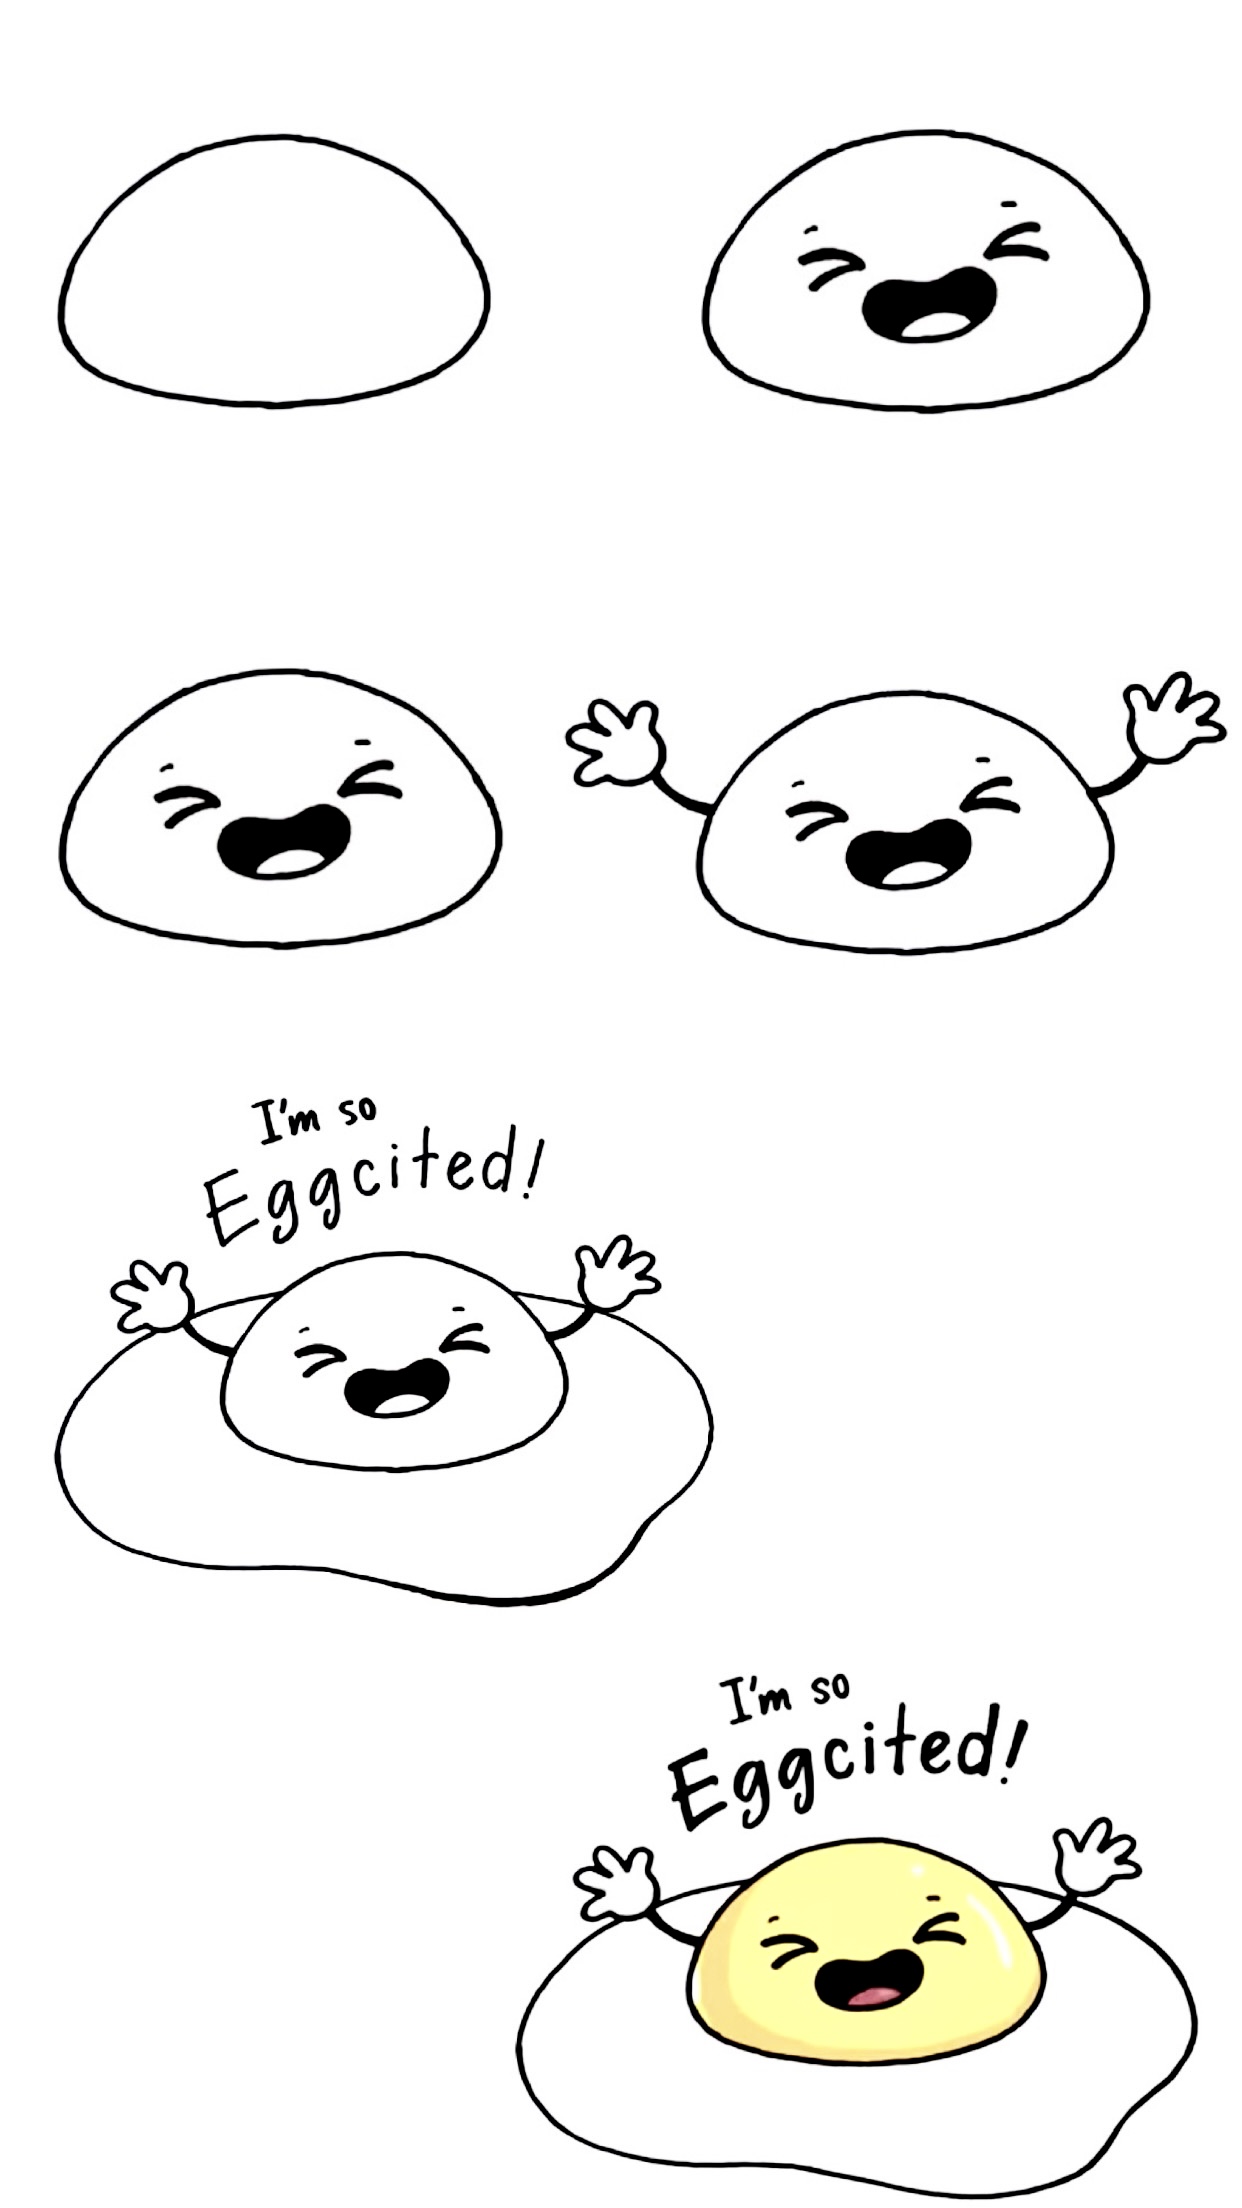
Let’s first start by drawing the yolk. So, we are just going to draw a big curve all the way across. So sunny side up, right? And add a nice round curve. All the way across, and so now we have the top.
Let’s come back down and we are going to round off the below part. As we bring it in, just start to round it off. And then we are going to go ahead and connect at the bottom.
Remove a curve so it is much shallower than the top. There we got our yokin.
Step 2 – Drawing the eyes and mouth

Egg Drawing Step 2
So from there, let’s bring this egg to life. So we are going to make them very excited. Come right from the inside of the york and we are just going to draw these eyes. Two curves connect it together. And we will just come in here and shade it and darken it. Then, put the same thing on the other side.
Want your egg to look more natural? So then, on top of each eye, we are going to draw a soft curve.
And then, we will move on to the mouth. Right under the space between two eyes, we are going to draw something kind of like a jelly bean shape. And then, above the bottom line for the mouth, we draw a curve for the tongue. And just fill the mouth all in black. Then, you will see a better mouth!
Step 3 – Drawing hands

Egg Drawing Step 3
So we have our egg now. Let’s go on, and we are going to draw the hands on the side. We are just going to bring in the curve. We are going to thicken this and draw the hands. Those hands are kind of out so draw a curve and then the thumb. Next, draw fingers. Just add four fingers for each hand. We are going to pop in the thumb and then the fingers.
Step 4 – Drawing the egg white

Egg Drawing Step 4
Then now we are going to draw the white egg. So come around the york. First, draw a curve, and just bring this curve around to draw the egg white. Then come across over the york. Let’s start to bring it together. We are going to curve it around so it is going to be nice, round, and soft. We are going to wobble it in a little bit. Then pop it out just to give it some shape. And bring it together. It was nice and yummy, a little bit sharp, right. We are going to bring this in a little bit because we want a soft egg. So it is pretty much done with the egg.
Step 5 – Adding description

Egg Drawing Step 5
Now, let’s go ahead and write the pun. It is “I’m so excited”. We are going to write it on top of the egg. And since “excited” is more important, we are going to
write that first.
We will start with a big e. And then, b g g. And then c, i, t, e and then d. Also, do not forget an exclamation mark. Then, right on top of that, we are going to put “I’m so.” Make it just smaller. Now you will have “I’m so excited”.
Step 6 – Let’s color
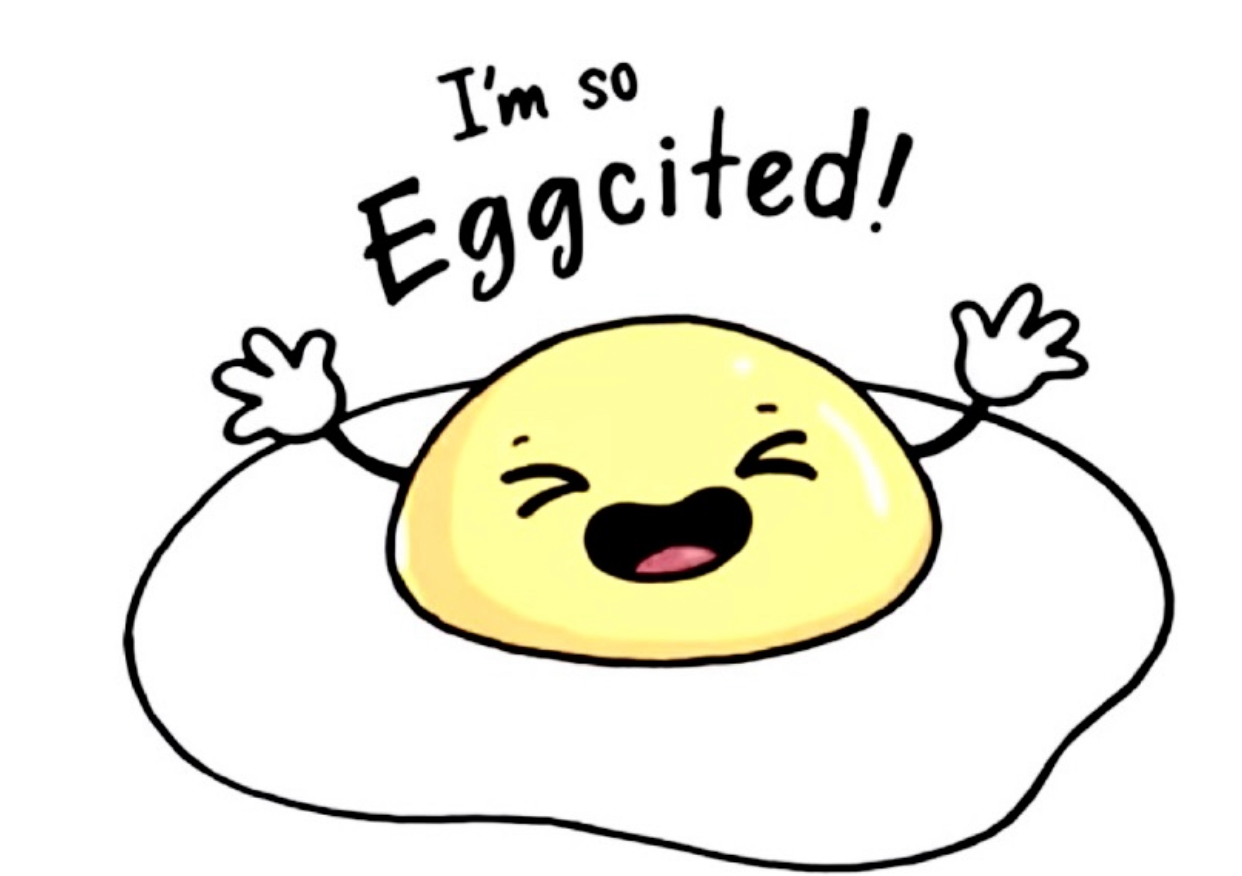
Egg Drawing Step 6
Now, grab your colors and fulfil the excitement for this egg. You can just color the york. It’s really easy and exciting, isn’t it?
Your Eggcited Drawing Is Complete Now!
We hope you and your cuties have been loving our tutorial. Now you have an egg full of excitement. And we hope you get excited as well.
Hopefully, you guys love them. We feel that they are really simple, easy to draw, and fun, of course.
Tips on How to Draw An Egg
For most of the steps in drawing the eggcited, they are so simple to make. You must know this thing, Leonardo da Vinci also started with drawing an egg. So, let’s start your artistic journey today with an eggcited.
And do not forget to get good-quality drawing tools. A good pencil lets you draw firm lines. Good colors allow you to fill in great colors for your egg.
FAQs on How to Draw Egg Sunny Side Up
- What are the things I need to pay attention to while drawing the egg?
For this egg, there are many curves to draw. If you do not draw often, you may find it quite hard to draw a good curve. Please do not be afraid. You should practice, and then the perfect lines will be drawn by your hands.
- How can I draw a good egg sunny side up?
First, you should be confident about your ability. Perhaps, at some first trials, the results do not live up to your expectations. Do not worry, you should start small and learn from your mistakes.
Then, please follow our guides. We are confident that our tutorial is suitable for everyone to draw.
Finally, enjoy your drawing time. Emotion is really important if you want to achieve great things.
- What are the materials for drawing an Egg Sunny Side Up?
We suggest you use these tools for your drawing:
- Good drawing paper
- Good pencil with firm tip
- Colors: such as crayons, colored pencils, gel pens,…
Do you want to light up your day with a simple creative activity? We will take you through a drawing… View More
